
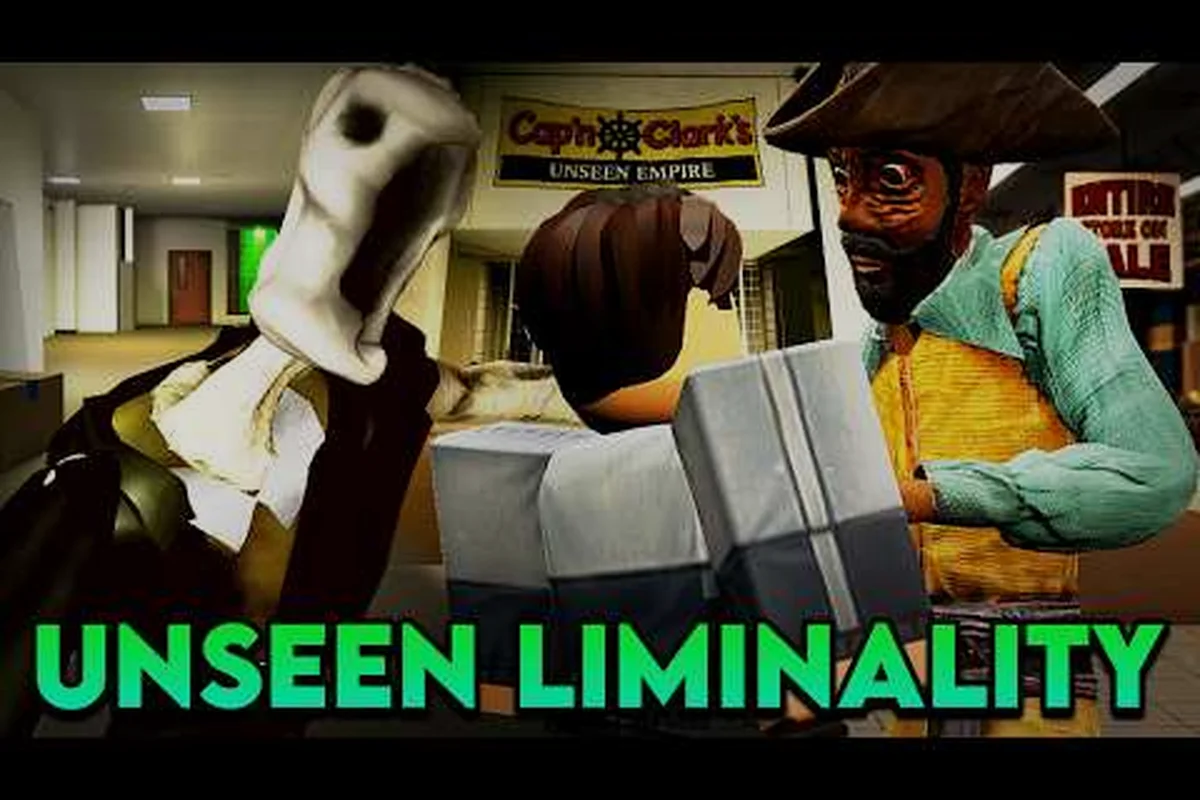
If you have just spawned into the endless yellow hallways of Unseen Liminality, your first real test begins when the sterile wallpaper gives way to wet tile and the echo of dripping water. That transition marks your arrival at Unseen Liminality level 1, better known as the Poolrooms, and it is where most new players lose their run. Understanding the layout, the entity spawn logic, and the fastest route to the exit is the difference between a quick death and a confident descent into Level 2. This guide breaks down the complete Poolrooms map, the safest paths, and the exact mechanics you need to survive this iconic liminal space.
The Poolrooms are not just a visual shift; they represent a fundamental change in how you must move and observe your surroundings. While Level 0 rewards slow, methodical exploration, the Poolrooms demand constant awareness of both your stamina bar and the waterline. Because the environment is more open and the lighting is harsher, entities have longer sightlines, which means you need to rely on crouch-walking and careful pathing rather than simply sprinting past threats. This guide will give you a room-by-room breakdown of the area, the location of all key exits, and the behavioral patterns of the entities that patrol these flooded halls, ensuring you can navigate unseen liminality level 1 with confidence.
Poolrooms Layout and Core Navigation
The Poolrooms in Unseen Liminality are procedurally arranged but follow a consistent structural logic that you can learn after a few runs. The area is divided into three distinct zones: the Entrance Shallows, the Central Crossings, and the Deep End. Each zone presents unique challenges and rewards, and knowing which zone you are in is critical for orienting yourself toward the Level 2 exit.
The Entrance Shallows is the first zone you enter after leaving the hallway. It features wide, ankle-deep water and a series of support pillars that break sightlines. This area is relatively safe, with only a low chance of a Mannequin spawn near the perimeter walls. The Central Crossings is a maze of narrow walkways that crisscross over deeper water channels. This is where the Looker has the highest spawn rate, and the echoing footsteps make audio cues unreliable. The Deep End is the final zone before the exit, characterized by darker water and a higher density of Following Chairs. The exit to Level 2 is always located in the Deep End, tucked behind a specific tiled archway.
| Zone | Water Depth | Primary Entity Threat | Key Feature |
|---|---|---|---|
| Entrance Shallows | Ankle-deep | Mannequin (Low Spawn) | Wide sightlines, easy to navigate |
| Central Crossings | Knee-deep channels | Looker (High Spawn) | Narrow walkways, maze-like layout |
| Deep End | Waist-deep | Following Chair (Medium Spawn) | Darker water, contains the Level 2 exit |
To navigate these unseen liminality maps effectively, you must learn to read the tile patterns on the walls. The tiles in the Poolrooms are not purely decorative; they serve as a navigation aid. Walls with cracked or darkened tiles indicate that you are moving toward the Deep End, while pristine white tiles suggest you are circling back toward the Entrance Shallows. According to community reports on the Fandom wiki, this tile-based navigation system was added in the August overhaul to help players differentiate between the otherwise identical-looking corridors, and it remains one of the most reliable ways to orient yourself without a compass.
The Entrance Shallows: Your First Steps
When you first arrive in the Poolrooms, take a moment to orient yourself. The spawn point is always near a large, cracked pillar with a distinct "No Diving" sign. This pillar is your anchor. From here, the Level 2 exit is always located to your left, but you cannot reach it directly because the path is blocked by a deep water channel that requires a specific jump sequence. Instead, you must move forward through the Central Crossings to unlock the shortcut.
The Entrance Shallows contains two Points of Interest (AOIs) that are worth checking for collectibles. The first is a small alcove behind the spawn pillar that often contains a flashlight upgrade or a battery pack. The second is a submerged room accessible by crouching under a half-open door on the right wall. This room contains a lore note that explains the origin of the Poolrooms, which is a nice piece of world-building for completionists. While the loot here is not essential for survival, grabbing the battery pack is a smart move because the Deep End is significantly darker, and having a full charge on your light source reduces the chance of a surprise encounter.
The Central Crossings: The Maze of Sightlines
The Central Crossings is where the difficulty ramps up. This zone is a grid of narrow walkways, each about two tiles wide, with deep water channels on either side. Falling into the water is not immediately fatal, but it slows your movement to a crawl and makes you extremely vulnerable to the Looker, which can spot you from across the room. The primary strategy here is to crouch-walk along the edges of the walkways, using the low walls as cover.
The maze layout is not random; it follows a pattern of alternating left and right turns. If you keep your camera angled slightly downward to watch the waterline, you can spot the ripple effect that signals a Looker is nearby. When you see ripples, stop moving and wait for the entity to pass. The Looker patrols a fixed route, and it takes roughly 45 seconds to complete a full loop of the Central Crossings. By timing your movements between these patrols, you can cross the entire zone without ever being detected. This is the core skill you need to master for unseen liminality level 1 survival.
Entity Behavior and Threat Assessment in the Poolrooms
Surviving the Poolrooms is less about combat and more about understanding the patrol patterns of the entities that call this place home. Unlike the random spawns in Level 0, the entities in the Poolrooms have more structured behaviors that you can predict and exploit. This section breaks down the three main threats you will face and provides a clear comparison of their danger levels.
The Looker is the most dangerous entity in the Poolrooms. It appears as a tall, thin figure that blends into the white tiles, and it only moves when you are not looking at it. This is a classic weeping angel mechanic, but the twist here is that the Looker can also teleport short distances when your back is turned. The Mannequin is a slower, more methodical threat. It stands perfectly still until you get within a certain radius, then it shambles toward you at a walking pace. The Following Chair is the most bizarre entity, a simple wooden chair that slides across the floor, creating a loud scraping sound that is easy to hear but hard to pinpoint.
| Entity | Movement Speed | Detection Method | Recommended Counter |
|---|---|---|---|
| Looker | Teleports when unseen | Line of Sight | Maintain eye contact, back away slowly |
| Mannequin | Slow walk | Proximity (10 meters) | Crouch-walk to avoid triggering its radius |
| Following Chair | Medium slide | Sound + Line of Sight | Break line of sight around a pillar |
According to player experiences shared in the community, the Looker has a specific weakness: it cannot cross the deep water channels in the Central Crossings. If you are being chased, you can lead it to the edge of a walkway and then jump across a gap. The Looker will stop at the edge, unable to follow, giving you a few precious seconds to escape. This is a high-risk maneuver because the jump itself requires a sprint start, but it is the most reliable way to shake off a persistent pursuer.
Audio Cues and Visual Tricks
The Poolrooms are designed to disorient you, but the game gives you subtle cues to help you survive. The most important is the sound of dripping water. In the Entrance Shallows, the dripping is constant and steady. In the Central Crossings, the dripping becomes irregular, and the pauses in the pattern often coincide with a Looker teleporting. If you hear the dripping stop entirely, you are in the Deep End, and you should immediately look for the nearest exit.
Visual tricks are equally important. The Poolrooms use a looping texture on the walls, but the seams are visible if you look closely. These seams are not random; they mark the boundaries between the procedural chunks of the map. By tracking these seams, you can create a mental map of the area, which is essential for navigating the unseen liminality poolrooms without getting lost. The official Roblox game page recommends playing on max graphics, and this is especially true for the Poolrooms, because the higher texture resolution makes these seams more visible.
The Route to Level 2: Step-by-Step Exit Strategy
Reaching the Level 2 exit is the primary goal of unseen liminality level 1, and there is a specific route that minimizes your exposure to danger. This route is not the shortest path, but it is the safest, using the tile patterns and patrol timings to your advantage. Below is the exact sequence of steps you need to follow.
First, from the spawn pillar, head left toward the first set of walkways. You will see a cracked tile archway on your right; ignore it, as it leads to a dead end with a rare collectible that is not worth the risk on your first attempt. Instead, continue straight until you reach a T-junction. At the T-junction, turn right and immediately crouch. This puts you in the Central Crossings with a clear view of the patrol routes.
| Step | Action | Risk Level | Time Estimate |
|---|---|---|---|
| 1 | Exit spawn, head left to the T-junction | Low | 30 seconds |
| 2 | Crouch-walk through the Central Crossings | High | 2-3 minutes |
| 3 | Locate the third right turn, marked by a dark tile | Medium | 1 minute |
| 4 | Sprint across the open water channel | High | 10 seconds |
| 5 | Enter the Deep End, follow the wall to the archway | Medium | 1 minute |
| 6 | Interact with the exit door to reach Level 2 | Low | 5 seconds |
The critical step is Step 3, where you must find the third right turn. This turn is marked by a single dark tile on the floor, which is easy to miss if you are rushing. When you find it, you will see a long, straight walkway that ends in an open water channel. This is the only place in the Poolrooms where you must sprint across open water. Before you sprint, wait for the Looker to pass the far end of the walkway. Once it is out of sight, sprint across and do not stop until you reach the solid floor on the other side. If you time it correctly, you will reach the Deep End without triggering any entity spawns.
The Deep End and the Exit Door
The Deep End is the final test. The water here is waist-deep, which slows your movement by roughly 40%, so you cannot rely on sprinting to escape threats. The Following Chair is the primary danger here, and its scraping sound is your warning. When you hear it, immediately move to the nearest wall and press your back against it. The Following Chair cannot turn corners tightly, so if you are flush against the wall, it will slide past you without making contact.
The exit door is located in the far corner of the Deep End, behind a tiled archway that looks identical to the others. To find it, follow the wall on your left as you enter the zone. You will pass two false archways that lead to small alcoves, then you will see the third archway with a faint blue glow emanating from it. This glow is the only visual indicator of the exit, and it is only visible from a distance of about 10 meters. Walk through the archway and interact with the door to trigger the transition to unseen liminality level 2.
Hidden Areas and Collectible Locations
Beyond the main path, the Poolrooms hide several secrets that reward thorough exploration. While these are not required for progression, they offer cosmetic items and lore that enrich the experience. This section covers the most notable hidden areas and what you can find in them.
The submerged room in the Entrance Shallows is the easiest secret to find. As mentioned earlier, you need to crouch under a half-open door on the right wall. Inside, you will find a lore note and a unique badge that is not tracked on the main badge list. The dead-end archway in the Central Crossings contains a rare entity figure that can be displayed in your lobby. However, reaching it requires you to navigate a narrow ledge over the deep water, which is risky if the Looker is on patrol.
| Hidden Area | Location | Reward | Risk |
|---|---|---|---|
| Submerged Room | Entrance Shallows, right wall | Lore Note + Badge | Low |
| Dead-End Archway | Central Crossings, first right | Entity Figure | High |
| False Alcoves | Deep End, along left wall | Battery Packs | Medium |
For a complete checklist of every secret and Area of Interest in the game, you should check out our comprehensive secrets guide, which covers all 17 AOIs across every level. The Poolrooms contain three of these AOIs, and two of them are located in the hidden areas listed above. The third is a specific tile pattern on the floor of the Central Crossings that, when walked over in a specific sequence, triggers a hidden message.
Performance Settings and Visual Optimization for the Poolrooms
The Poolrooms are visually demanding, with reflective water surfaces and dense tile textures that can cause frame drops on lower-end systems. Since the game requires precise timing to avoid entities, a stable frame rate is not just a luxury; it is a survival tool. This section covers the best settings to ensure smooth gameplay in this specific area.
The most impactful setting is Shadow Quality. The Poolrooms use dynamic shadows that are computationally expensive, and lowering this to Medium can yield a 20-30% frame rate improvement without significantly affecting your ability to spot entities. The Water Reflection setting should be set to Low, as the reflective surface is a major performance drain and does not provide any gameplay advantage. Texture Quality should be kept at High, as the tile seams are essential for navigation, as discussed earlier.
| Setting | Recommended Value | Performance Impact | Gameplay Impact |
|---|---|---|---|
| Shadow Quality | Medium | +20-30% FPS | Minimal, entities still visible |
| Water Reflection | Low | +10-15% FPS | None, water still renders |
| Texture Quality | High | -5% FPS | Critical for navigation |
| Anti-Aliasing | Off | +10% FPS | Reduces edge smoothness, but improves clarity |
If you are still experiencing lag after adjusting these settings, you may want to review our performance guide for additional fixes, including disabling background applications and adjusting your Windows power plan. The key takeaway is that a stable 60 FPS is far more important than visual fidelity in the Poolrooms, because a single frame drop during a sprint can mean the difference between escaping a Looker and being caught.
Level 1 Mistake Patterns and Recovery Tips
Even experienced players make mistakes in the Poolrooms, but most of these errors are preventable if you know what to watch for. This section highlights the most common pitfalls and provides clear strategies to avoid them.
The most frequent mistake is sprinting through the Central Crossings. New players often panic when they see the maze-like layout and try to rush through it. This is almost always fatal, because the sprint sound attracts the Looker from across the map. Instead, you must embrace the slow, methodical crouch-walk, even though it feels counterintuitive. The second most common mistake is misreading the tile patterns. Players often confuse the cracked tiles of the Deep End with the pristine tiles of the Entrance Shallows, leading them to circle back to the start. To avoid this, always check the water depth; if the water is above your knees, you are in the Central Crossings or Deep End, not the Entrance Shallows.
Another critical error is ignoring the audio cues. The game gives you clear warnings before an entity appears, but many players have their volume too low or are listening to music. The dripping water, the scraping of the Following Chair, and the subtle hum of the Looker are all designed to keep you alive. Play with headphones, and treat the audio as a core gameplay mechanic rather than background noise. If you find yourself getting lost frequently, our level 0 guide offers tips on general navigation that apply to all levels, including how to track your position using environmental landmarks.
Frequently Asked Questions
How long does it take to complete Unseen Liminality level 1?
A typical run through the Poolrooms takes between 10 and 15 minutes for a new player, but experienced runners can complete it in under 5 minutes. The time variance depends heavily on how many hidden areas you explore and how often you need to wait for entity patrols to pass.
What is the best strategy for avoiding the Looker in the Poolrooms?
The most reliable strategy is to maintain constant eye contact with the Looker while backing away slowly. Because it can only teleport when you are not looking, keeping it in your field of view prevents it from closing the distance. Use the deep water channels to your advantage, as the Looker cannot cross them.
Can you find the Level 2 exit without exploring the entire Poolrooms map?
Yes, the exit is always located in the Deep End, which is the final zone. You do not need to explore the entire map, but you do need to navigate through the Central Crossings to reach the Deep End. The route described in this guide is the most direct safe path.
Are there any permanent upgrades hidden in the Poolrooms?
Yes, you can find battery packs that increase your light source capacity, and a lore note that provides background on the game's world. There is also a unique badge hidden in the submerged room, but it is purely cosmetic and does not affect gameplay.
What happens after I reach Unseen Liminality level 2?
Level 2 introduces new entities and a different environmental theme, shifting away from the water-based mechanics of the Poolrooms. The navigation principles you learned here, such as reading environmental cues and managing your stamina, remain essential for survival in the deeper levels.