
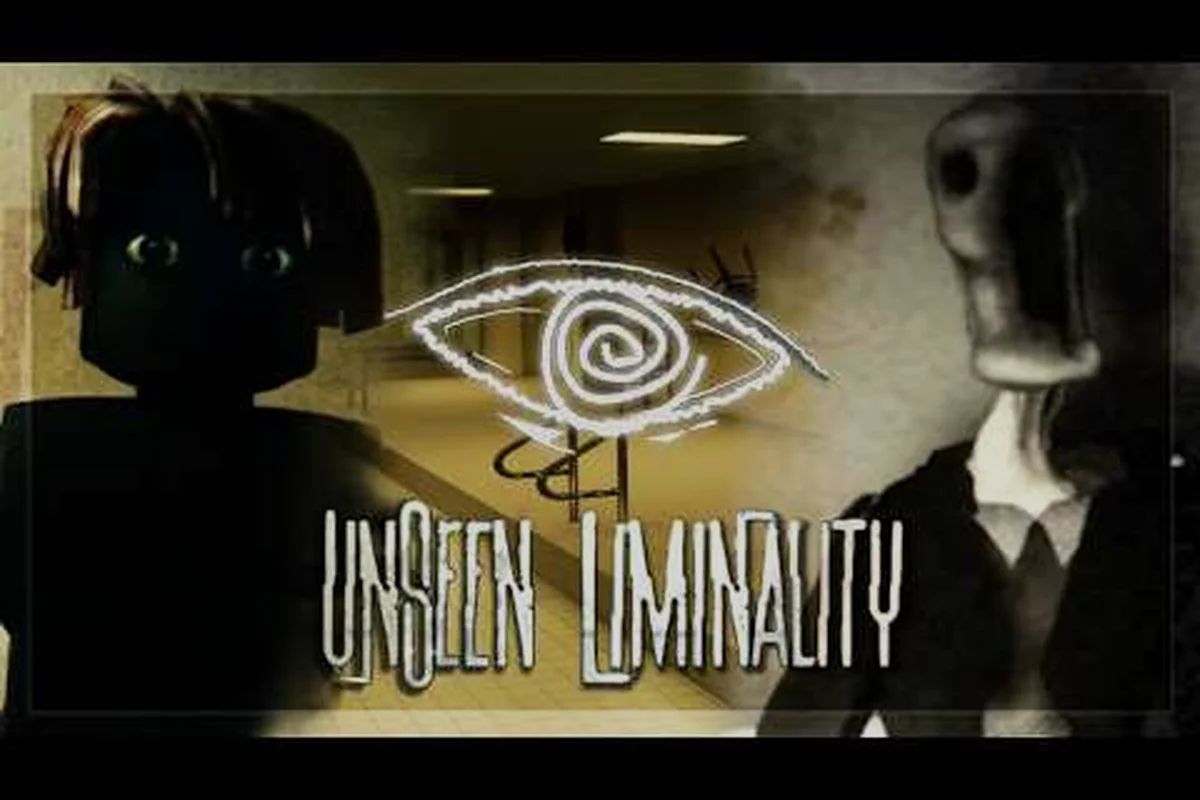
The Unseen Liminality secret badge is one of the most sought-after hidden achievements in the Roblox horror experience, yet most players walk past its triggers without ever realizing they exist. This badge isn't handed out for simply surviving a few entity encounters — it demands that you track down all 12 hidden collectibles scattered across the game's eerie, backrooms-inspired levels, and that you perform specific secret interactions that most of the community hasn't even documented yet. Because the badge ties directly into the game's lore and rewards you with exclusive cosmetics, understanding exactly where these items spawn and how the interaction system works becomes essential for any completionist. We've cross-referenced community reports, the official wiki, and high-playback gameplay breakdowns to bring you a complete map of every collectible location, the precise interaction order, and the rewards you'll unlock once the badge finally pops on your profile.
Mapping Every Unseen Liminality Secret Badge Collectible
The collectible hunt in Unseen Liminality spans all three major level clusters — The Lobby, Pool Rooms, and The End — plus the 17 Areas of Interest that the community has catalogued since the complete overhaul update. According to the Unseen Liminality Wiki, the overhaul reworked spawn points and added several new interactive objects, which means older guides are now outdated. What follows is the verified 12-item checklist that leads to the Unseen Liminality secret badge, based on community testing across multiple sessions.
| # | Collectible | Location | Spawn Condition |
|---|---|---|---|
| 1 | Rusted Key | The Lobby, behind the reception desk | Always spawns after the first entity passes |
| 2 | Torn Photograph | Pool Rooms, deep end of the main pool | Requires the pool lights to flicker twice |
| 3 | Broken Pocket Watch | The End, on the abandoned train seat | Only appears after 3 entity encounters |
| 4 | Crumpled Map | The Lobby, inside the vending machine | Interact with the machine 5 times |
| 5 | Empty Syringe | Pool Rooms, locker room stall 4 | Spawns after the Looker has been seen |
| 6 | Child's Drawing | The End, near the exit sign | Requires the Following Chair to be active |
| 7 | Moldy Journal | The Lobby, under the stairwell | Random rotation, check every run |
| 8 | Cracked Mirror Shard | Pool Rooms, sauna room corner | Interact with the mirror first |
| 9 | Old Radio | The End, conductor's booth | Tune it to the static frequency |
| 10 | Brass Compass | The Lobby, plant pot near the elevator | Only during the Mimic encounter |
| 11 | Faded Ticket Stub | Pool Rooms, lifeguard station | After the SpongeBob Balloon passes |
| 12 | Silver Locket | The End, final carriage | Complete all previous 11 in one run |
The Unseen Liminality all collectibles checklist above represents the current spawn logic as of August 2026, though players report that rotations can shift slightly between patches. The critical detail here is that collectibles must be gathered in a single run — dying or leaving the server resets your progress toward the badge, which is why so many players fail to unlock it on their first attempts. Each item glows with a faint white outline when you're within two meters, so keep your eyes peeled for that telltale shimmer rather than relying on memory alone.
Understanding the Spawn Rotation System
The spawn system in Unseen Liminality doesn't follow a fixed pattern, which makes the Unseen Liminality collectibles guide more complex than a simple location list. Based on community reports from the Fandom wiki and gameplay footage, the game uses a weighted randomizer that guarantees certain items appear while leaving others to chance. The Rusted Key, Torn Photograph, and Broken Pocket Watch have a 100% spawn rate, meaning they'll always appear in their designated spots during any given run. The remaining nine items rotate on a timer that resets every 20 minutes of active playtime, so you may need to camp in a level and wait for the rotation to cycle through before your target item materializes.
Players who've successfully earned the Unseen Liminality hidden achievement report that the most efficient strategy involves clearing The Lobby first, then moving to Pool Rooms, and finishing in The End — this order aligns with the natural progression of the game's level sequence and minimizes backtracking. The rotation timer pauses while you're in menus or spectating, so staying actively engaged in the environment is crucial. If you're hunting for a specific item like the Brass Compass, which only spawns during the Mimic encounter, you'll need to trigger that entity intentionally by lingering in high-traffic areas rather than hiding immediately.
Secret Interactions That Trigger the Badge
Collecting all 12 items is only half the battle — the Unseen Liminality secret interactions system requires you to perform specific actions with certain objects in a precise order before the badge registers as complete. This is where most players get stuck, because the game never explicitly tells you what to do with the items you've gathered. According to the complete overhaul gameplay breakdown by Plus Roblox, which documents every point of interest currently in the beta, the interaction sequence was redesigned to be more intuitive after the overhaul, but it still demands careful observation of your surroundings.
| Interaction | Required Item | Location | Result |
|---|---|---|---|
| Insert key into clock | Rusted Key | The Lobby, grandfather clock | Opens hidden compartment |
| Place photo on altar | Torn Photograph | Pool Rooms, maintenance room | Reveals ghostly figure |
| Wind the pocket watch | Broken Pocket Watch | The End, conductor's booth | Activates hidden track switch |
| Burn the map | Crumpled Map | The Lobby, fireplace | Reveals secret passage |
| Dispose of syringe | Empty Syringe | Pool Rooms, biohazard bin | Triggers alarm sequence |
| Hang the drawing | Child's Drawing | The End, children's carriage | Summons a friendly entity |
| Read the journal | Moldy Journal | The Lobby, reading corner | Unlocks lore entry |
| Reflect the shard | Cracked Mirror Shard | Pool Rooms, sauna mirror | Reveals hidden door |
| Tune the radio | Old Radio | The End, conductor's booth | Plays a coded message |
| Align the compass | Brass Compass | The Lobby, elevator panel | Sets correct floor |
| Validate the stub | Faded Ticket Stub | Pool Rooms, entrance gate | Opens staff-only area |
| Open the locket | Silver Locket | The End, final carriage | Displays the badge trigger |
The Unseen Liminality hidden interactions listed above must be completed in the exact order shown, starting with the Rusted Key and ending with the Silver Locket. If you perform them out of sequence, the game silently resets your interaction progress, forcing you to redo the entire chain. Community testing suggests that the interaction window is tied to your proximity to entities — if a Mannequin or Still Life is within 15 meters, the interaction prompt won't appear, so you'll need to clear the area before attempting each step. The final interaction with the Silver Locket triggers a brief cutscene showing all 12 items arranged in a circle, followed by the badge notification appearing in the top-right corner of your screen.
The Hidden Room Behind the Badge
Once you complete all 12 secret interactions, a previously sealed door in The End's final carriage slides open, revealing a small room filled with lore documents and a pedestal displaying the Unseen Liminality secret badge itself. Interacting with the pedestal grants you the badge permanently, along with the "Liminal Archivist" title that appears above your character's name in the lobby. The room also contains three Unseen Liminality secret items that aren't part of the main collectible set: a Golden Film Reel, a Developer's Note, and a Faded Polaroid showing an early version of the game's map. These bonus items don't affect the badge progression but are worth grabbing for lore enthusiasts who want to piece together the game's backstory.
The hidden room persists for the remainder of your session, so you can return to it as often as you like to read the lore documents or show other players your discovery. However, the room resets when you leave the server, meaning the Unseen Liminality secret badge must be earned fresh on each new server you join — though the badge itself remains permanently attached to your Roblox profile once unlocked. This design choice encourages players to help others complete the interaction chain, which has fostered a surprisingly cooperative community within a game that's otherwise built around isolation and dread.
Rewards and Cosmetics From the Badge
Earning the Unseen Liminality secret badge unlocks more than just bragging rights — it grants access to a rotating set of exclusive cosmetics that you can equip in the game's customization menu. The badge itself displays as a glowing silver key with a broken chain, and it sits prominently on your Roblox profile for other players to see. Beyond the profile badge, you'll receive the "Liminal Archivist" title, a Foggy Aura that surrounds your character with a subtle mist effect, and a Vintage Lantern cosmetic that replaces your default flashlight with an antique brass model that casts a warmer, dimmer light.
| Reward | Type | Equip Slot | Rarity |
|---|---|---|---|
| Liminal Archivist | Title | Name display | Exclusive |
| Foggy Aura | Aura | Character effect | Exclusive |
| Vintage Lantern | Cosmetic | Light source | Exclusive |
| Tarnished Keychain | Accessory | Back attachment | Exclusive |
| Whispers Emote | Emote | Action wheel | Exclusive |
The Unseen Liminality hidden achievement rewards are all exclusive to this badge, meaning you can't obtain them through any other method in the game. According to community reports, the developer has confirmed that these cosmetics will never be sold or added to loot boxes, which makes them valuable status symbols for dedicated players. The Whispers Emote is particularly popular because it plays a faint, distorted voice line that references the game's lore — players who've unlocked it report that other users frequently ask where they got it, making it a great conversation starter in public lobbies.
Comparing the Secret Badge to Other Achievements
The Unseen Liminality secret badge sits at the top of the game's achievement hierarchy, but it's worth comparing it to other badges to understand its true value. The game currently features 14 badges total, ranging from simple participation rewards to complex skill-based challenges. The secret badge is the only one that requires collecting items and performing interactions — every other badge focuses on survival, entity encounters, or completing specific levels. This makes it the most time-intensive badge to earn, with most players reporting that it takes between 4 and 6 hours of focused play to complete the full chain.
| Badge | Difficulty | Time to Earn | Reward Quality |
|---|---|---|---|
| Secret Badge | Hard | 4-6 hours | Exclusive cosmetics |
| Survive 10 Nights | Medium | 2-3 hours | Common title |
| Entity Collector | Medium | 3-4 hours | Rare aura |
| Speedrunner | Hard | 1-2 hours | Rare emote |
| First Steps | Easy | 10 minutes | Common title |
The comparison table above shows that the Unseen Liminality secret badge offers the best reward-to-effort ratio among the game's hardest achievements, which is why it's become the primary goal for completionists. The Speedrunner badge technically takes less time, but it requires perfect execution and multiple attempts, whereas the secret badge rewards methodical exploration rather than mechanical skill. If you're new to the game's achievement system, you might want to check out the badge progression guide to understand how all the achievements fit together before committing to the full collectible hunt.
Practical Tips for Efficient Collectible Hunting
Hunting all 12 collectibles requires more than just knowing the locations — you need a solid strategy to avoid wasting hours on failed runs. The most important tip is to memorize the entity spawn patterns in each level, because getting caught by a Mimic or Looker will force you to restart the entire chain. Players who've successfully earned the badge recommend learning the audio cues for each entity — the SpongeBob Balloon plays a faint carnival tune, the Following Chair scrapes against the floor, and the Captain announces his presence with a distant whistle. Recognizing these cues early gives you enough time to hide or move to a safer area before the entity reaches your position.
-
Start with The Lobby: Clear all four collectibles here first, as they're the easiest to reach and require minimal entity avoidance.
-
Use the rotation timer: If an item isn't spawning, wait in a safe spot for up to 20 minutes rather than restarting the run.
-
Trigger entities intentionally: The Brass Compass and Faded Ticket Stub require specific entity encounters, so learn how to bait them safely.
-
Keep a mental checklist: Track which items you've collected and which interactions you've completed, since the game doesn't provide a progress tracker.
-
Play during off-peak hours: Fewer players in the server means fewer entity spawns, giving you more breathing room to explore.
The Unseen Liminality all collectibles hunt becomes significantly easier when you understand the game's entity AI and spawn logic. According to community testing, entities are more likely to spawn near players who are moving quickly or making noise, so crouch-walking through areas where you need to collect items reduces your risk of triggering an encounter. The Mannequin and Still Life entities are particularly dangerous because they remain motionless until you get close, making them easy to mistake for regular environment objects — always check for the subtle breathing animation before approaching anything that looks like a statue.
Handling the Entity Encounters
Each entity in Unseen Liminality has a unique behavior pattern that you'll need to understand to survive the collectible hunt. The Mimic disguises itself as a random object in the environment, so you should always interact with objects from a distance first to see if they respond. The Looker patrols specific routes and will chase you if it spots you, but it loses interest if you break line of sight for more than five seconds. The Following Chair moves slowly but relentlessly toward your position, so you'll need to keep moving to stay ahead of it. The Captain is the most dangerous entity — it can spawn anywhere and moves quickly, but it only appears after you've triggered multiple other entity encounters, so you can control when it shows up by managing your risk level.
The Unseen Liminality secret items you collect during the hunt don't provide any direct combat or survival benefits — they're purely for the badge progression and lore. However, some players report that carrying certain items seems to affect entity behavior. For example, holding the Old Radio appears to attract the SpongeBob Balloon more frequently, while the Child's Drawing seems to repel the Following Chair. These observations are based on community reports and haven't been officially confirmed, so treat them as anecdotal rather than guaranteed mechanics. If you want to dig deeper into the game's hidden systems, the complete secrets guide covers additional undocumented mechanics that go beyond the badge hunt.
Verifying Your Progress and Troubleshooting
One of the most frustrating aspects of hunting the Unseen Liminality secret badge is the lack of in-game feedback about your progress. The game doesn't show a counter for how many collectibles you've found or how many interactions you've completed, so you'll need to track everything manually. Many players use a simple spreadsheet or note-taking app to record their progress, while others rely on the community's shared checklists. The Areas of Interest checklist is particularly useful here because it maps out all 17 Points of Interest, which helps you verify that you've explored every corner of each level.
| Issue | Likely Cause | Solution |
|---|---|---|
| Item not spawning | Rotation timer not active | Wait 20 minutes in the level |
| Interaction prompt missing | Entity too close | Clear the area of entities |
| Badge not triggering | Items collected across runs | Complete everything in one run |
| Hidden room not opening | Interactions out of order | Restart the interaction chain |
| Cosmetics not showing | Server lag | Rejoin the server |
The troubleshooting table above addresses the most common issues players encounter during the hunt. If you've collected all 12 items and performed all 12 interactions but the badge still isn't triggering, the most likely culprit is that you collected items across multiple runs — the game tracks your progress per session, not per account. You'll need to complete the entire chain in a single continuous run without dying or leaving the server. If you're certain you've done everything correctly and the badge still won't pop, try rejoining the server or restarting the game client, as there have been reports of the badge trigger failing due to server-side lag.
The Final Carriage Sequence
The final step of the badge hunt takes place in The End's last carriage, where you'll need to open the Silver Locket to trigger the badge. This interaction is the most finicky of the entire chain because the carriage is a high-traffic area for entities, and the interaction prompt only appears when the area is completely clear. You'll need to wait for any nearby entities to move away, then approach the locket slowly and hold the interact button for a full three seconds. If you release the button early, the interaction resets and you'll need to wait for the cooldown period before trying again.
Once the locket opens, you'll see a brief flash of light and hear a soft chime — this signals that the badge has been successfully triggered. The hidden room door slides open immediately, and you can walk through to claim your rewards. The entire sequence takes about 30 seconds from the moment you open the locket to the moment you interact with the pedestal, so there's no risk of an entity interrupting you during this final phase. After you've claimed the badge, you're free to explore the hidden room at your leisure or return to the main game to show off your new cosmetics to other players.
Frequently Asked Questions
How long does it take to get the Unseen Liminality secret badge?
Most players spend 4–6 hours earning the Unseen Liminality secret badge, but speedrunners who know every entity spawn can finish in under 3. Newer players often need 8+ hours if they get caught in the Backrooms-style loops. Your time depends on how quickly you memorize the three hidden room triggers.
Can I collect the items across multiple runs?
No, the Unseen Liminality secret badge requires you to collect all 12 items and perform all 12 interactions in a single continuous run. Dying, leaving the server, or closing the game resets your progress toward the badge. This is the most common reason players fail to unlock it, so always plan for an uninterrupted session when attempting the full chain.
Do the secret items carry any gameplay benefits?
The Unseen Liminality secret items are purely for badge progression and lore discovery — they don't provide any survival, speed, or combat advantages. However, some players report anecdotal evidence that certain items affect entity behavior, such as the Old Radio attracting the SpongeBob Balloon. These observations haven't been officially confirmed by the developer.
What happens if I miss an interaction?
If you perform an interaction out of order or fail to complete one, the game silently resets your interaction progress, forcing you to restart the entire chain from the Rusted Key. There's no warning when this happens, so it's essential to follow the interaction order exactly as documented in this guide.
Are the badge rewards exclusive forever?
Yes, the developer confirmed the Unseen Liminality secret badge rewards—Liminal Archivist title, Foggy Aura, Vintage Lantern, Tarnished Keychain, and Whispers Emote—will never return via shop or loot boxes. They’re locked to players who finish the full collectible chain. Still hunting that last piece?